# Dashboard
There are several layouts available:
# Base
You could make your own implementation of the dashboard, by using the Dasboard component.
This component provides a logo slot and widgets slot where you can create your own layout with the grid utilities of iotacss.
Your active-widgets will be loaded in all layouts. It will show an error when there is a configuration error.
# Example
DETAILS
<template>
  <Dashboard>
    <template #logo>
      <img :alt="$t('login.images.logo.alt')" src="../../static/theme/logo.png" />
    </template>
    <template #default>
      <!-- All your own grid code here -->
    </template>
  </Dashboard>
</template>
# Masonry
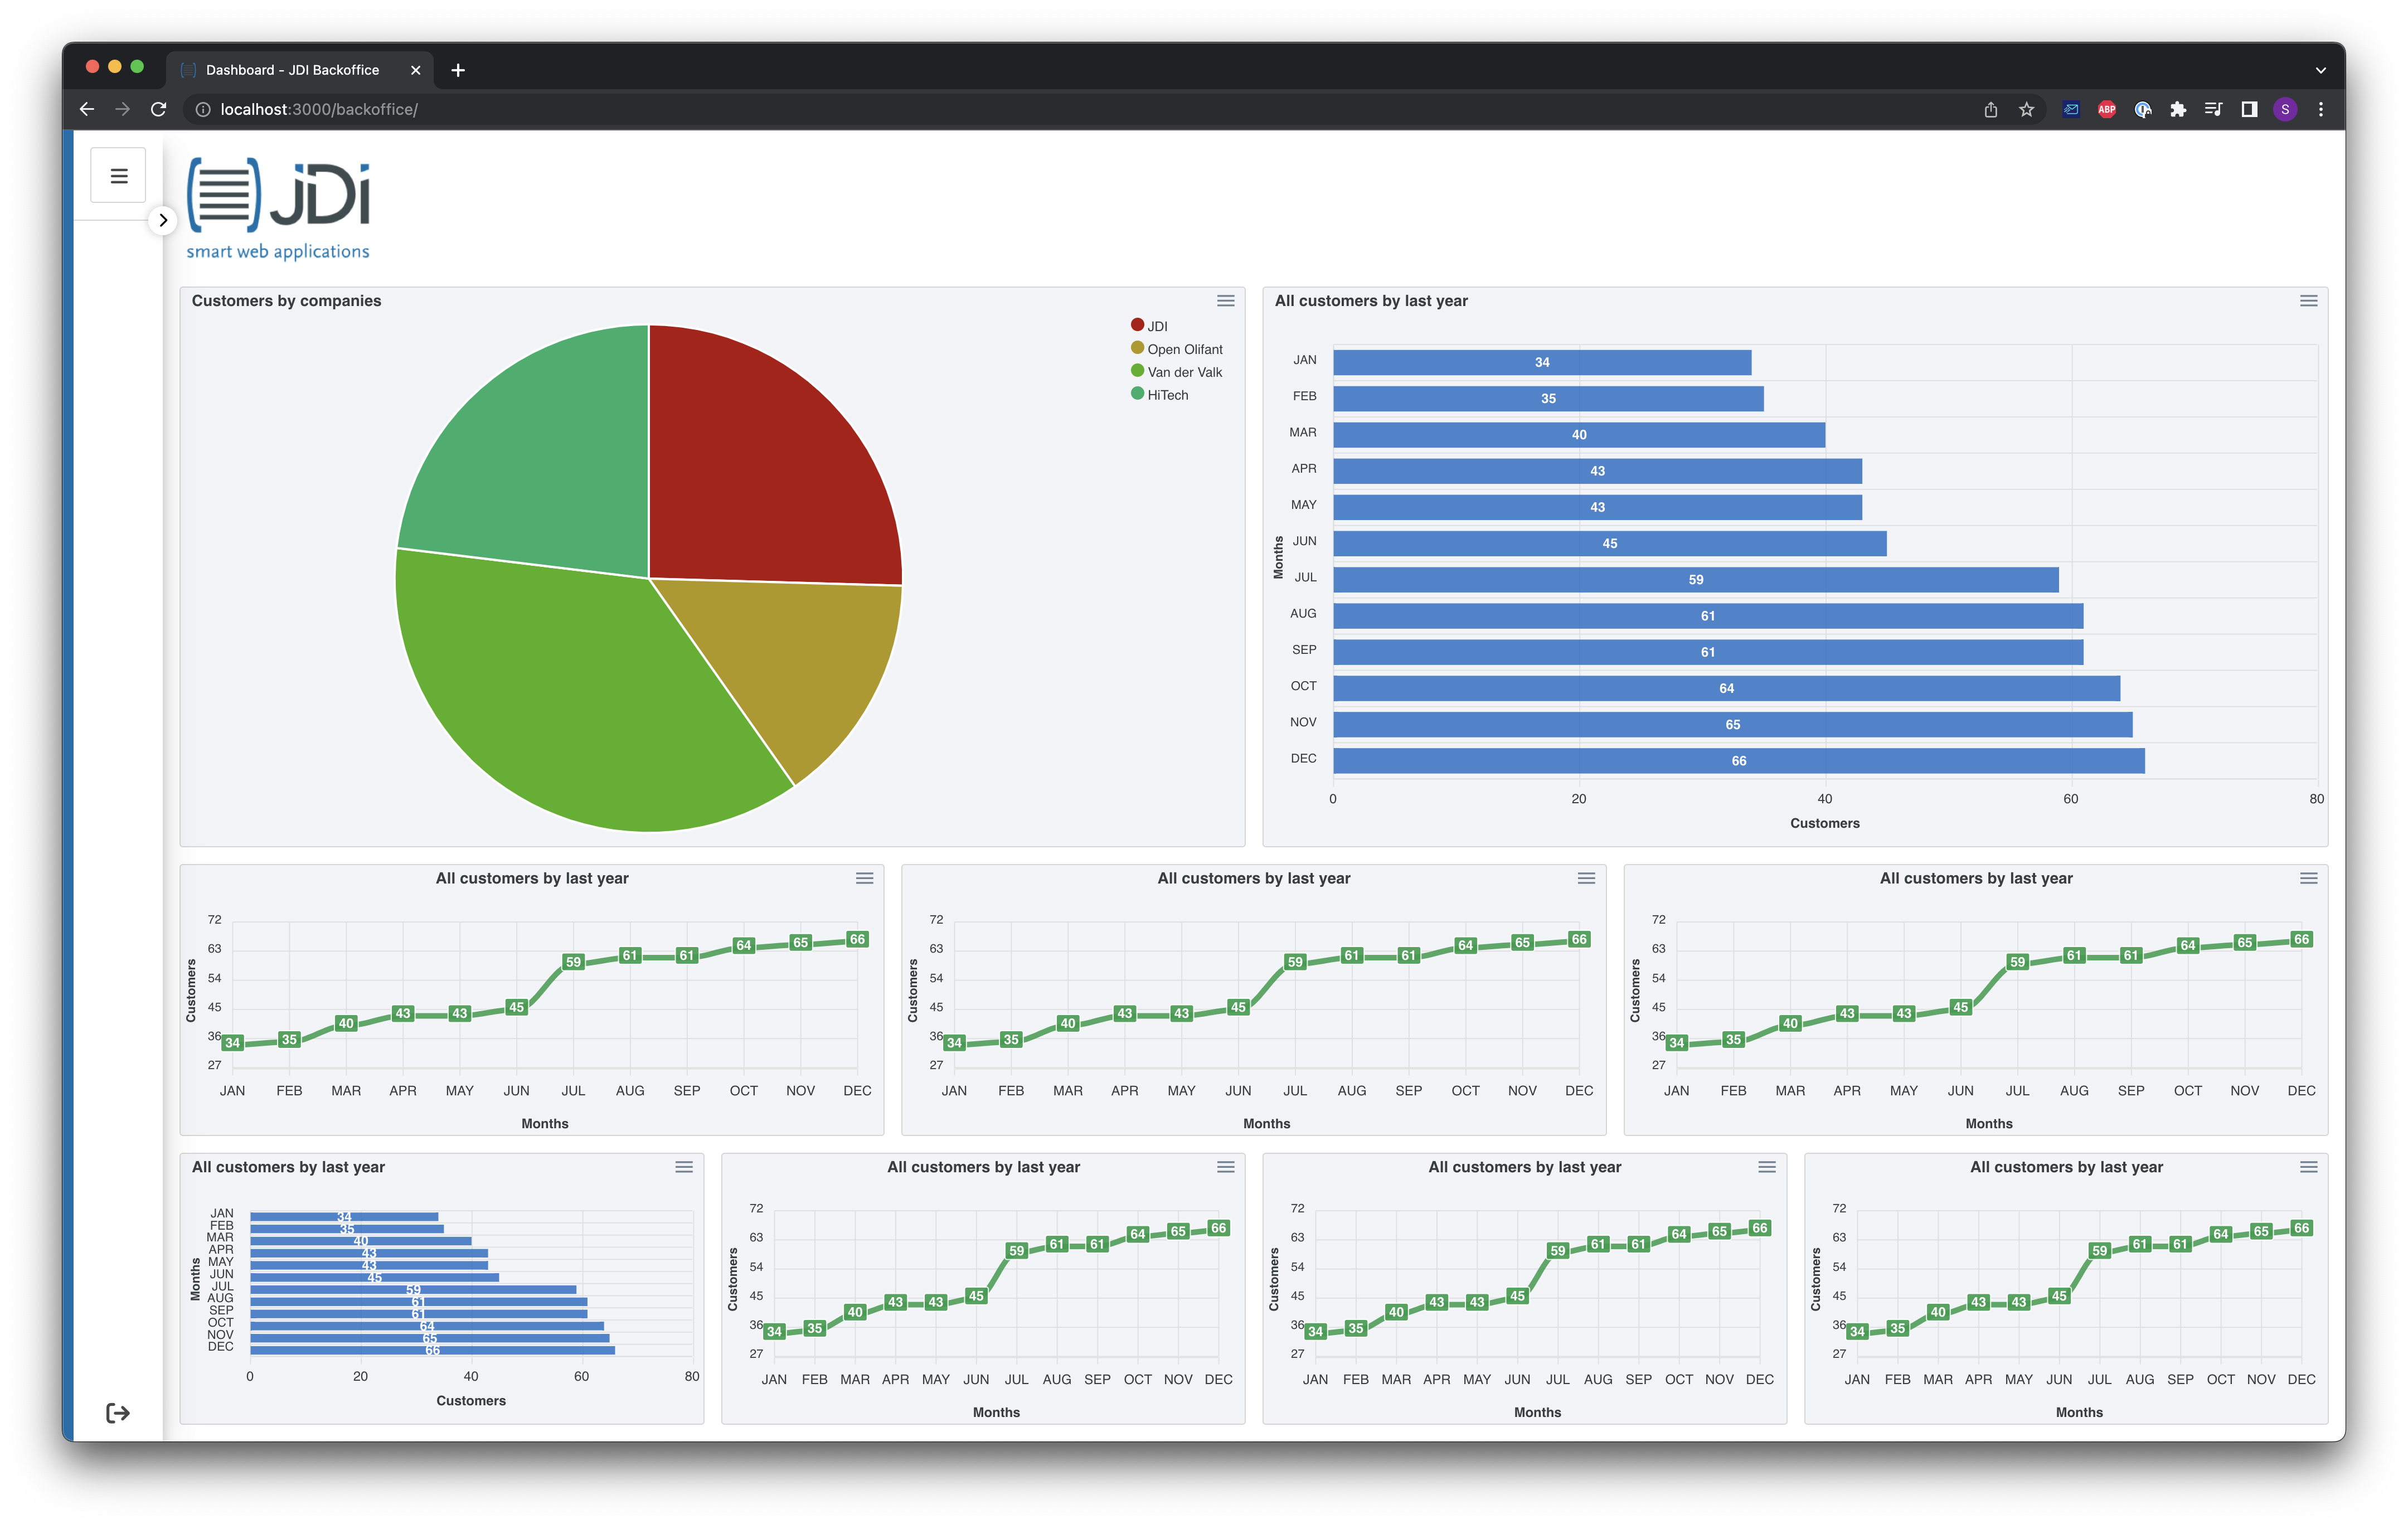
First row: Two big widgets, 50% of the height of the screen Second row: Three middle widgets, 25% of the height of the screen Third row: Four middle size widgets, 45% of the height of the screen
# Example
DETAILS
<template>
  <MasonryDashboard>
    <template #logo>
      <img :alt="$t('login.images.logo.alt')" src="../../static/theme/logo.png" />
    </template>
    <template #widget-1>
      <Widget name="bigChart" />
    </template>
    <template #widget-2>
      <Widget name="tallChart" />
    </template>
    <template #widget-3>
      <Widget name="smallChart1" />
    </template>
    <template #widget-4>
      <Widget name="smallChart2" />
    </template>
    <template #widget-5>
      <Widget name="smallChart3" />
    </template>
    <template #widget-6>
      <Widget name="smallChart4" />
    </template>
    <template #widget-7>
      <Widget name="smallChart5" />
    </template>
    <template #widget-8>
      <Widget name="smallChart6" />
    </template>
    <template #widget-9>
      <Widget name="smallChart7" />
    </template>
  </MasonryDashboard>
</template>
# TwoWidgetsHorizontal
Two equal height rows of 50% height.

# Example
DETAILS
<template>
  <TwoWidgetsHorizontal>
    <template #logo>
      <img :alt="$t('login.images.logo.alt')" src="../../static/theme/logo.png" />
    </template>
    <template #widget-1>
      <Widget name="bigChart" />
    </template>
    <template #widget-2>
      <Widget name="tallChart" />
    </template>
  </TwoWidgetsHorizontal>
</template>
# TwoWidgetsVertical
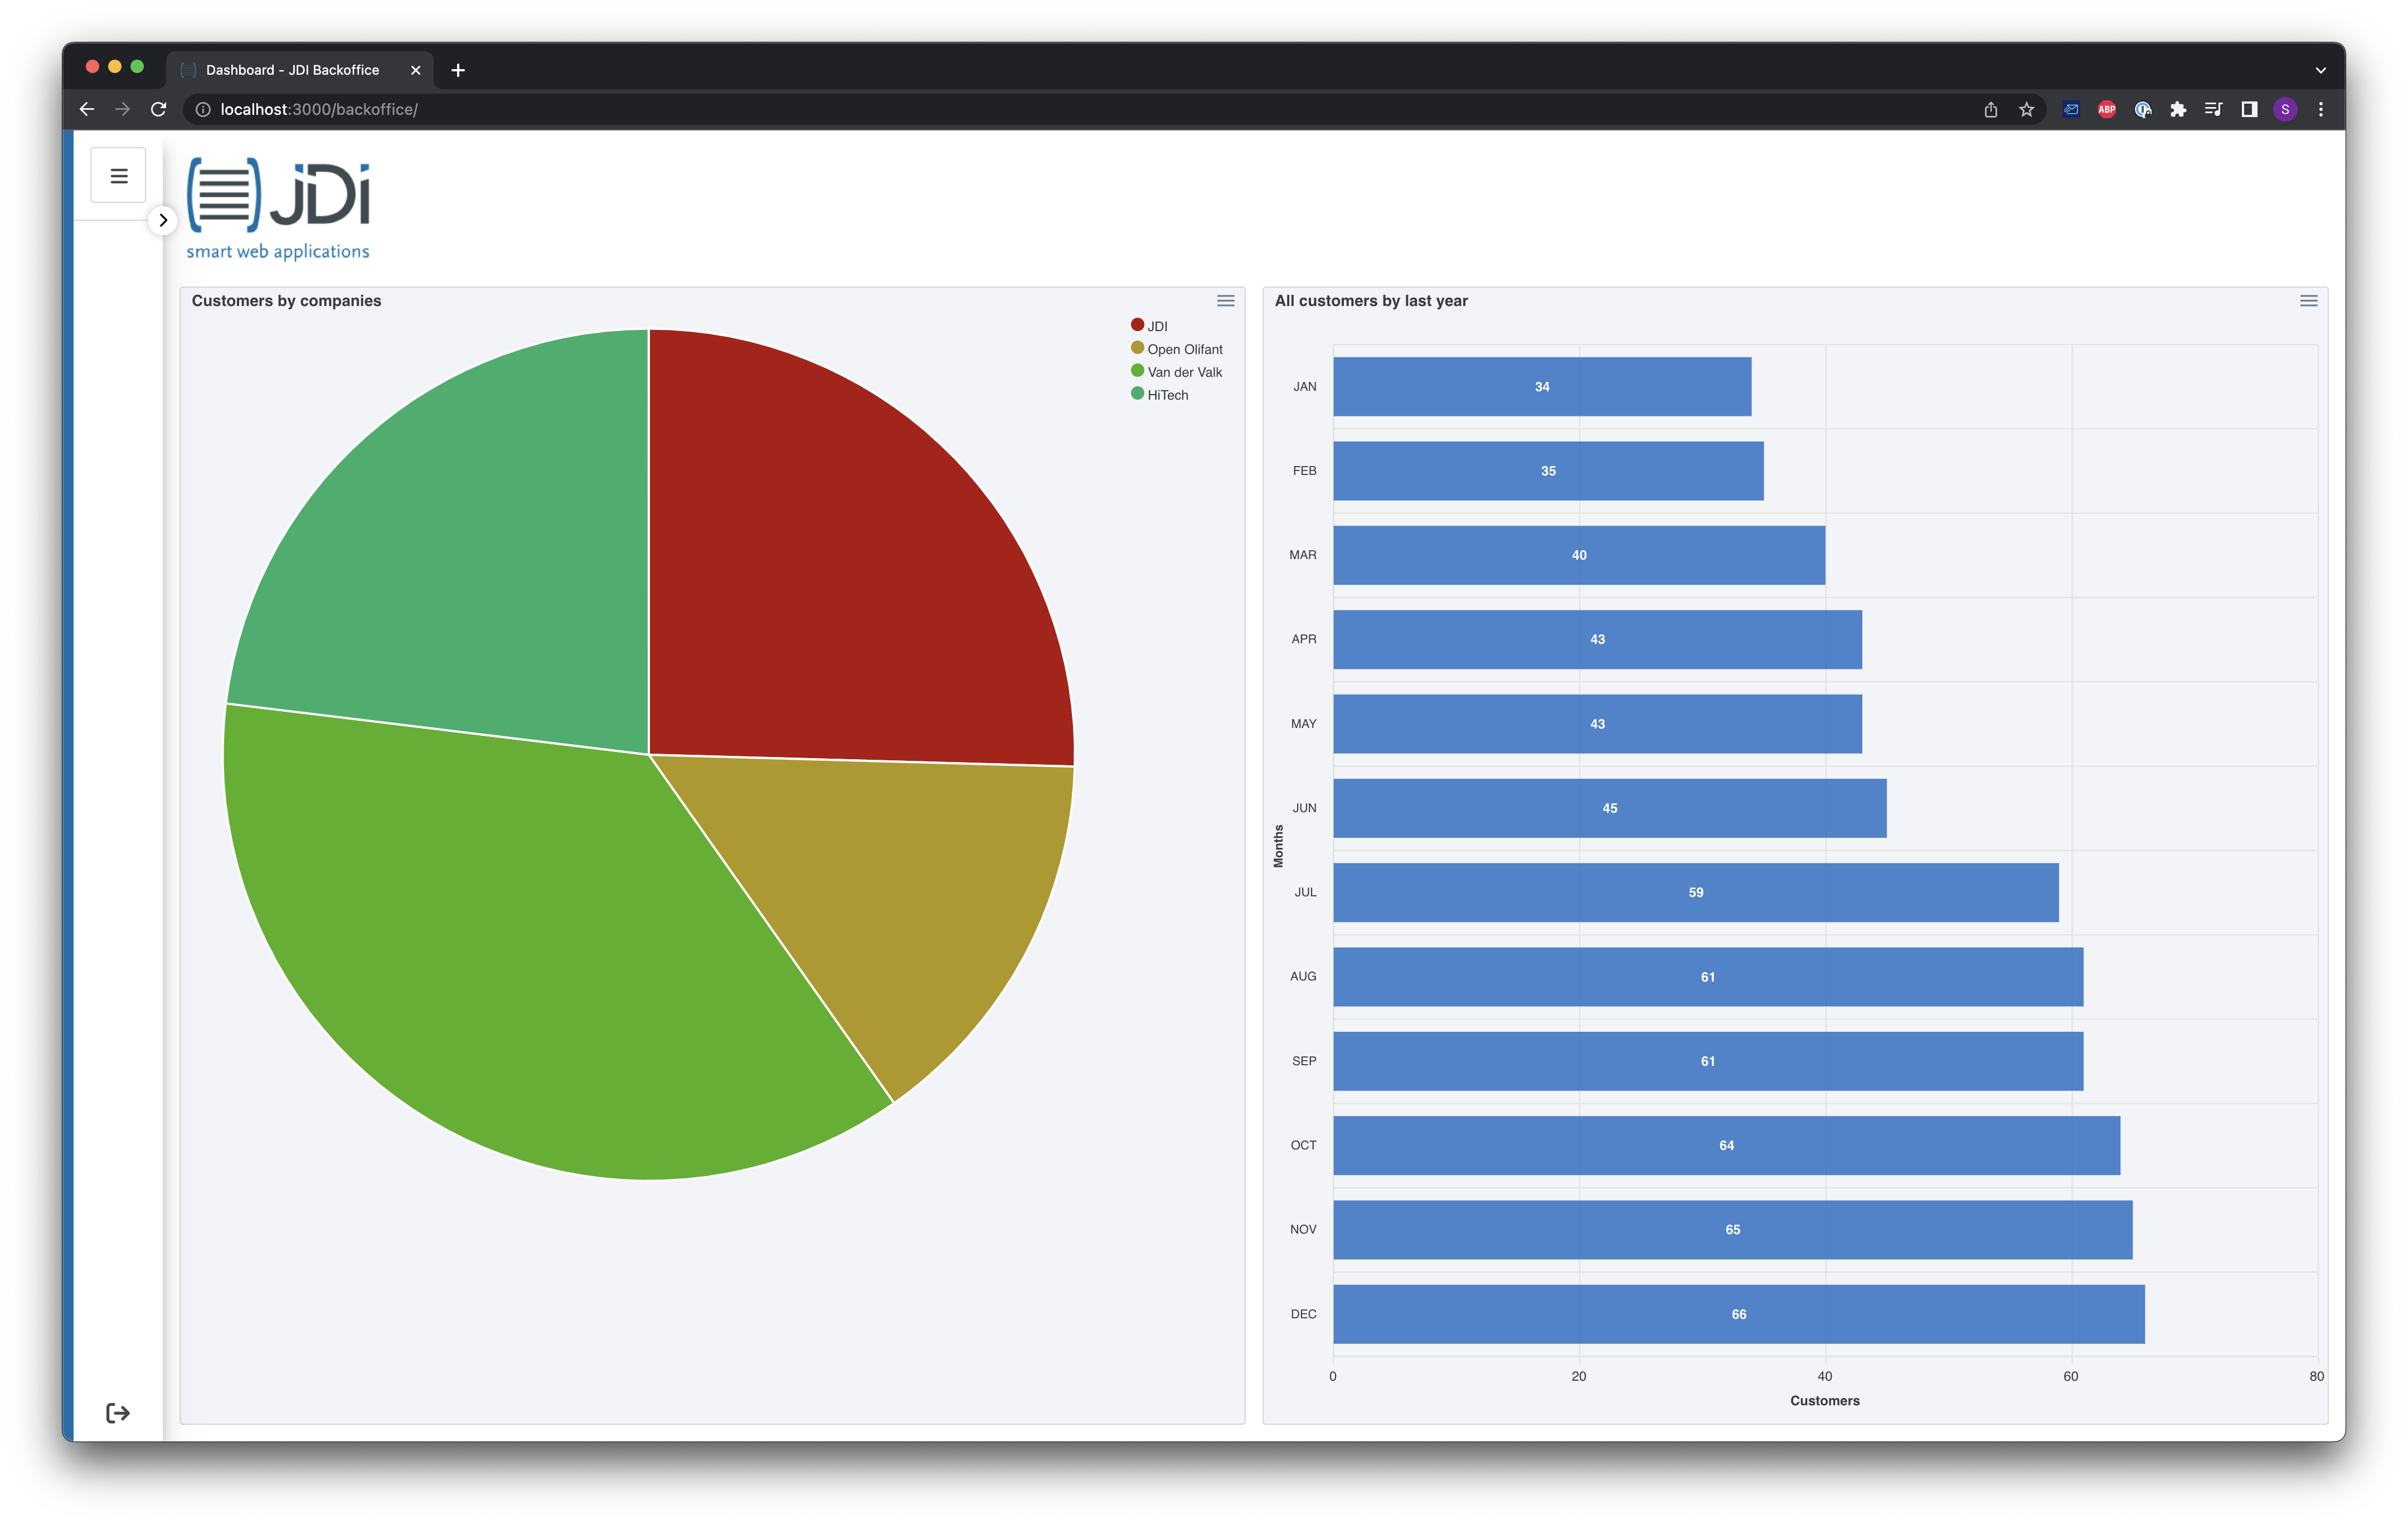
Two equal width rows of 50% width.
# Example
DETAILS
<template>
  <TwoWidgetsVertical>
    <template #logo>
      <img :alt="$t('login.images.logo.alt')" src="../../static/theme/logo.png" />
    </template>
    <template #widget-1>
      <Widget name="bigChart" />
    </template>
    <template #widget-2>
      <Widget name="tallChart" />
    </template>
  </TwoWidgetsVertical>
</template>
# ThreeWidgets
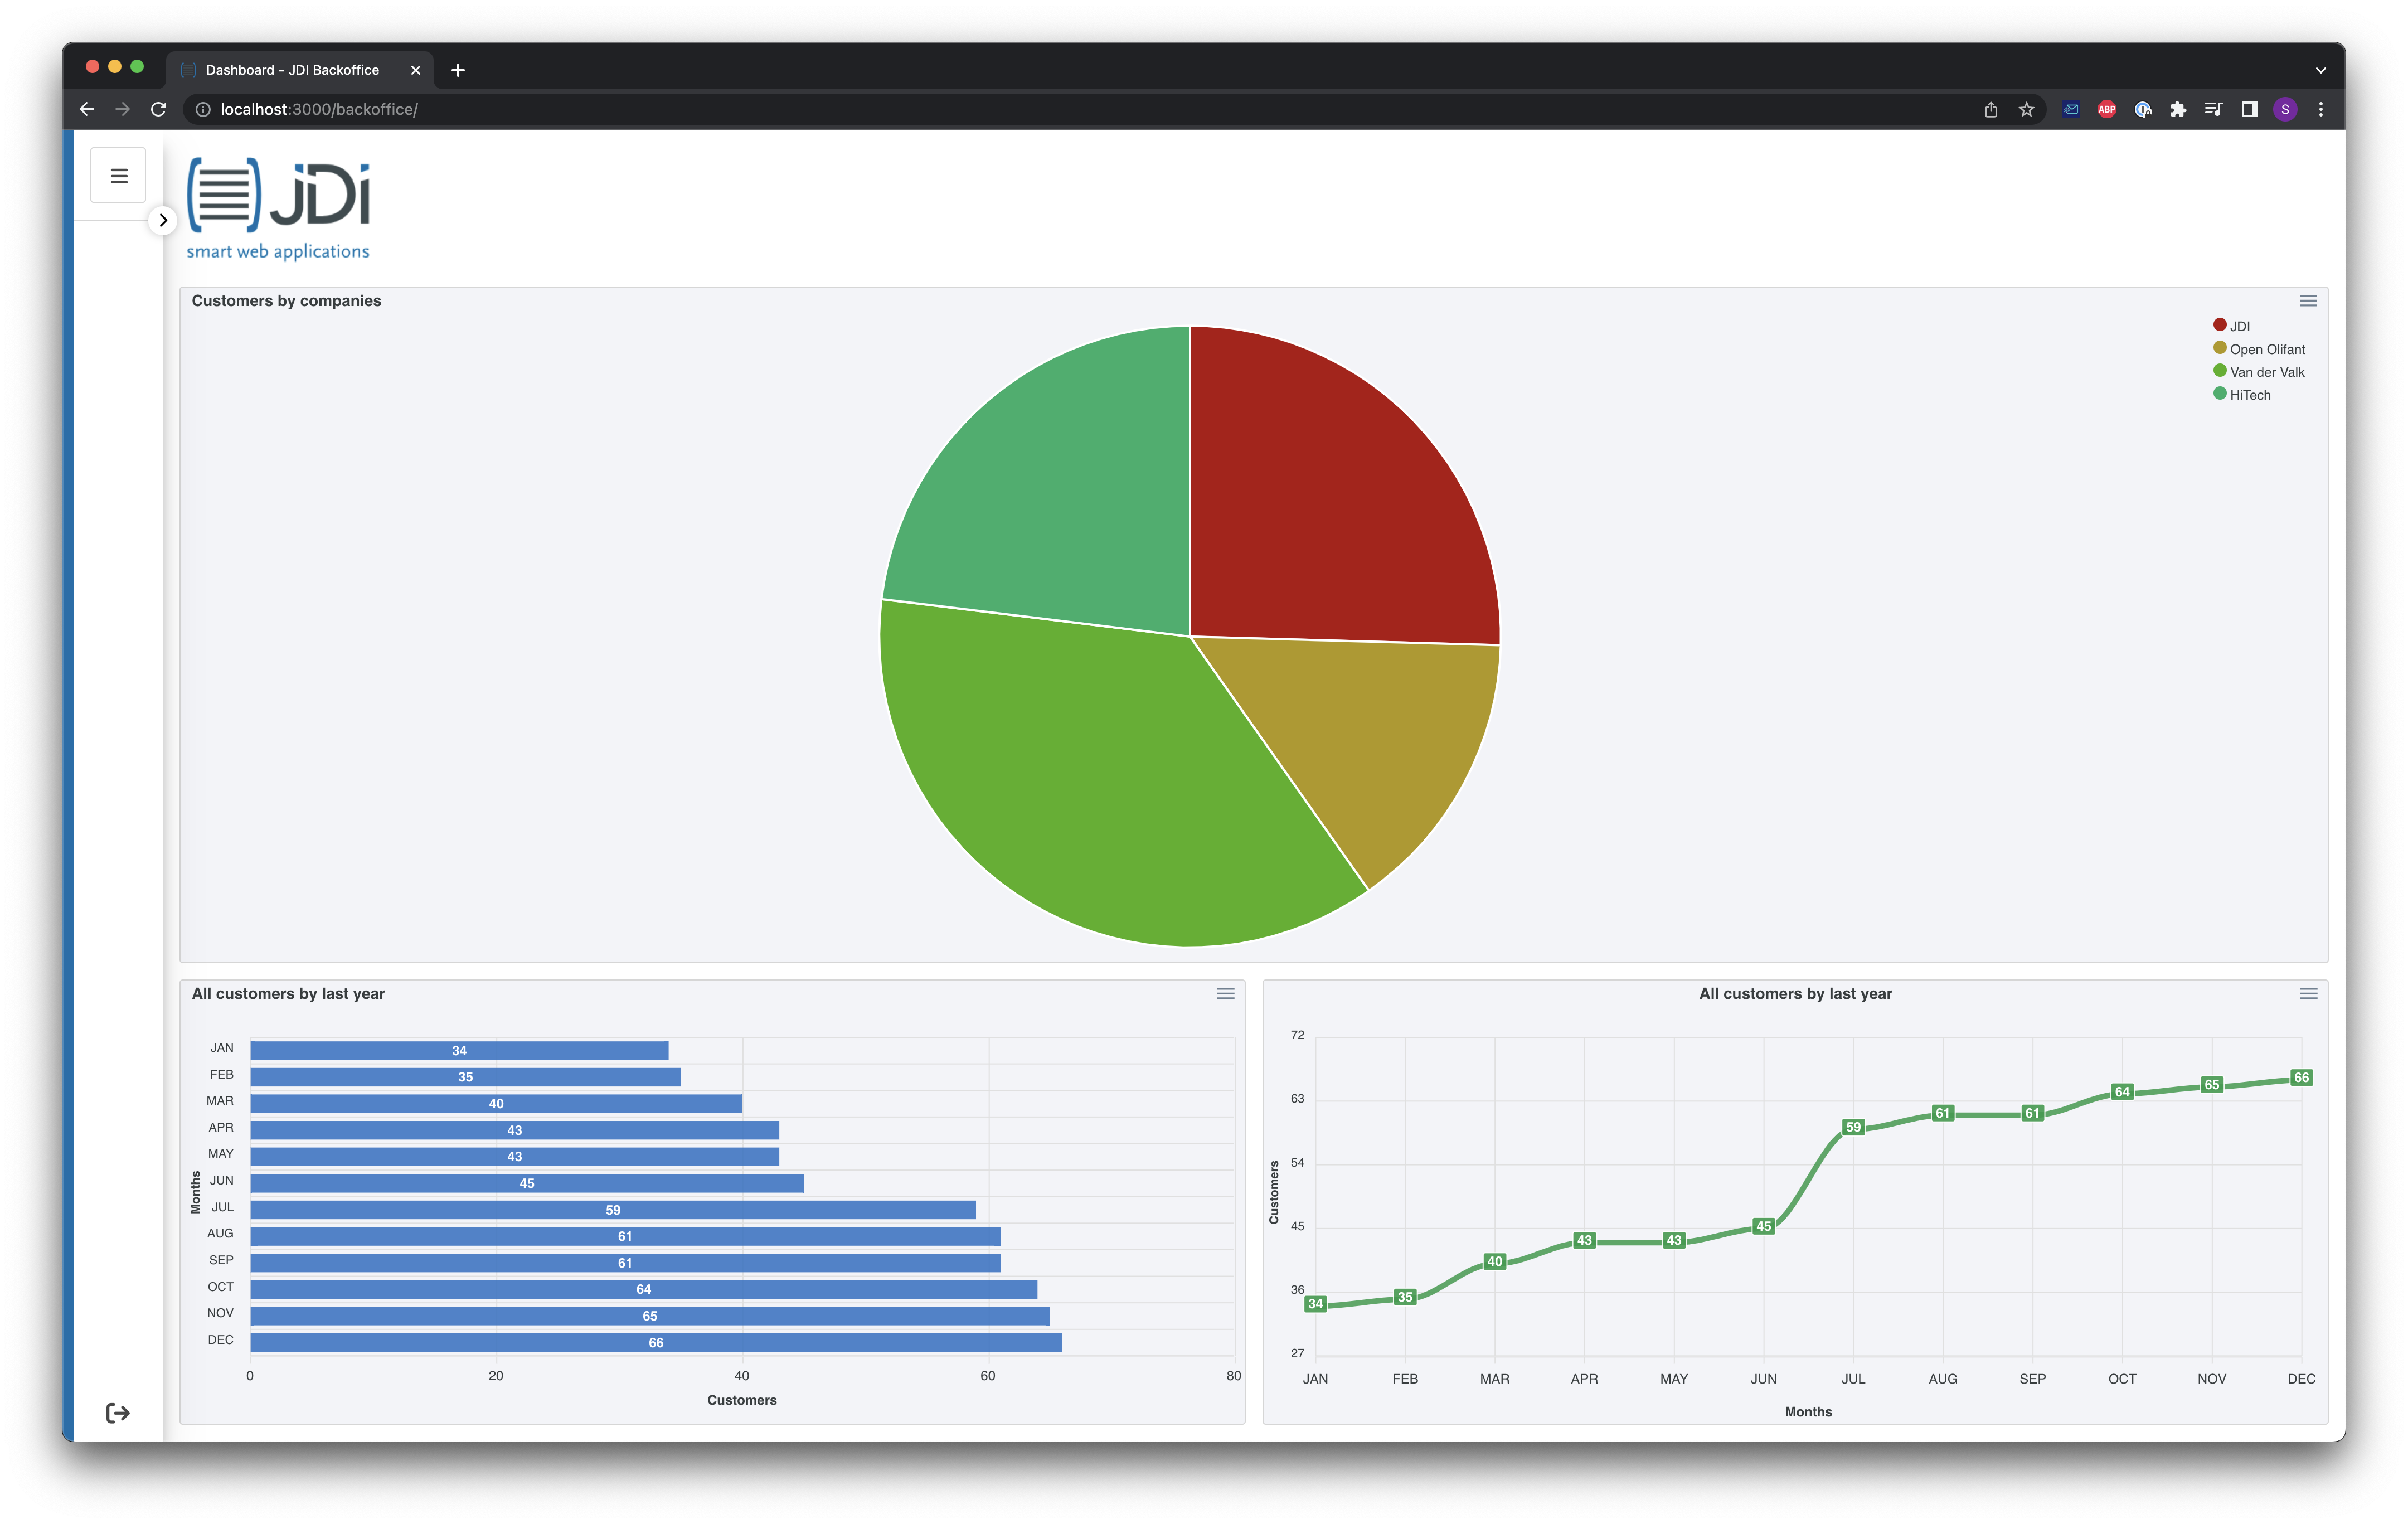
Three First a row of 100% width, 60% height. Secondly a row two widgets of 50% width and 40% height.
# Example
DETAILS
<template>
  <ThreeWidgets>
    <template #logo>
      <img :alt="$t('login.images.logo.alt')" src="../../static/theme/logo.png" />
    </template>
    <template #widget-1>
      <Widget name="bigChart" />
    </template>
    <template #widget-2>
      <Widget name="tallChart" />
    </template>
    <template #widget-3>
      <Widget name="smallChart1" />
    </template>
  </ThreeWidgets>
</template>
# FourWidgets
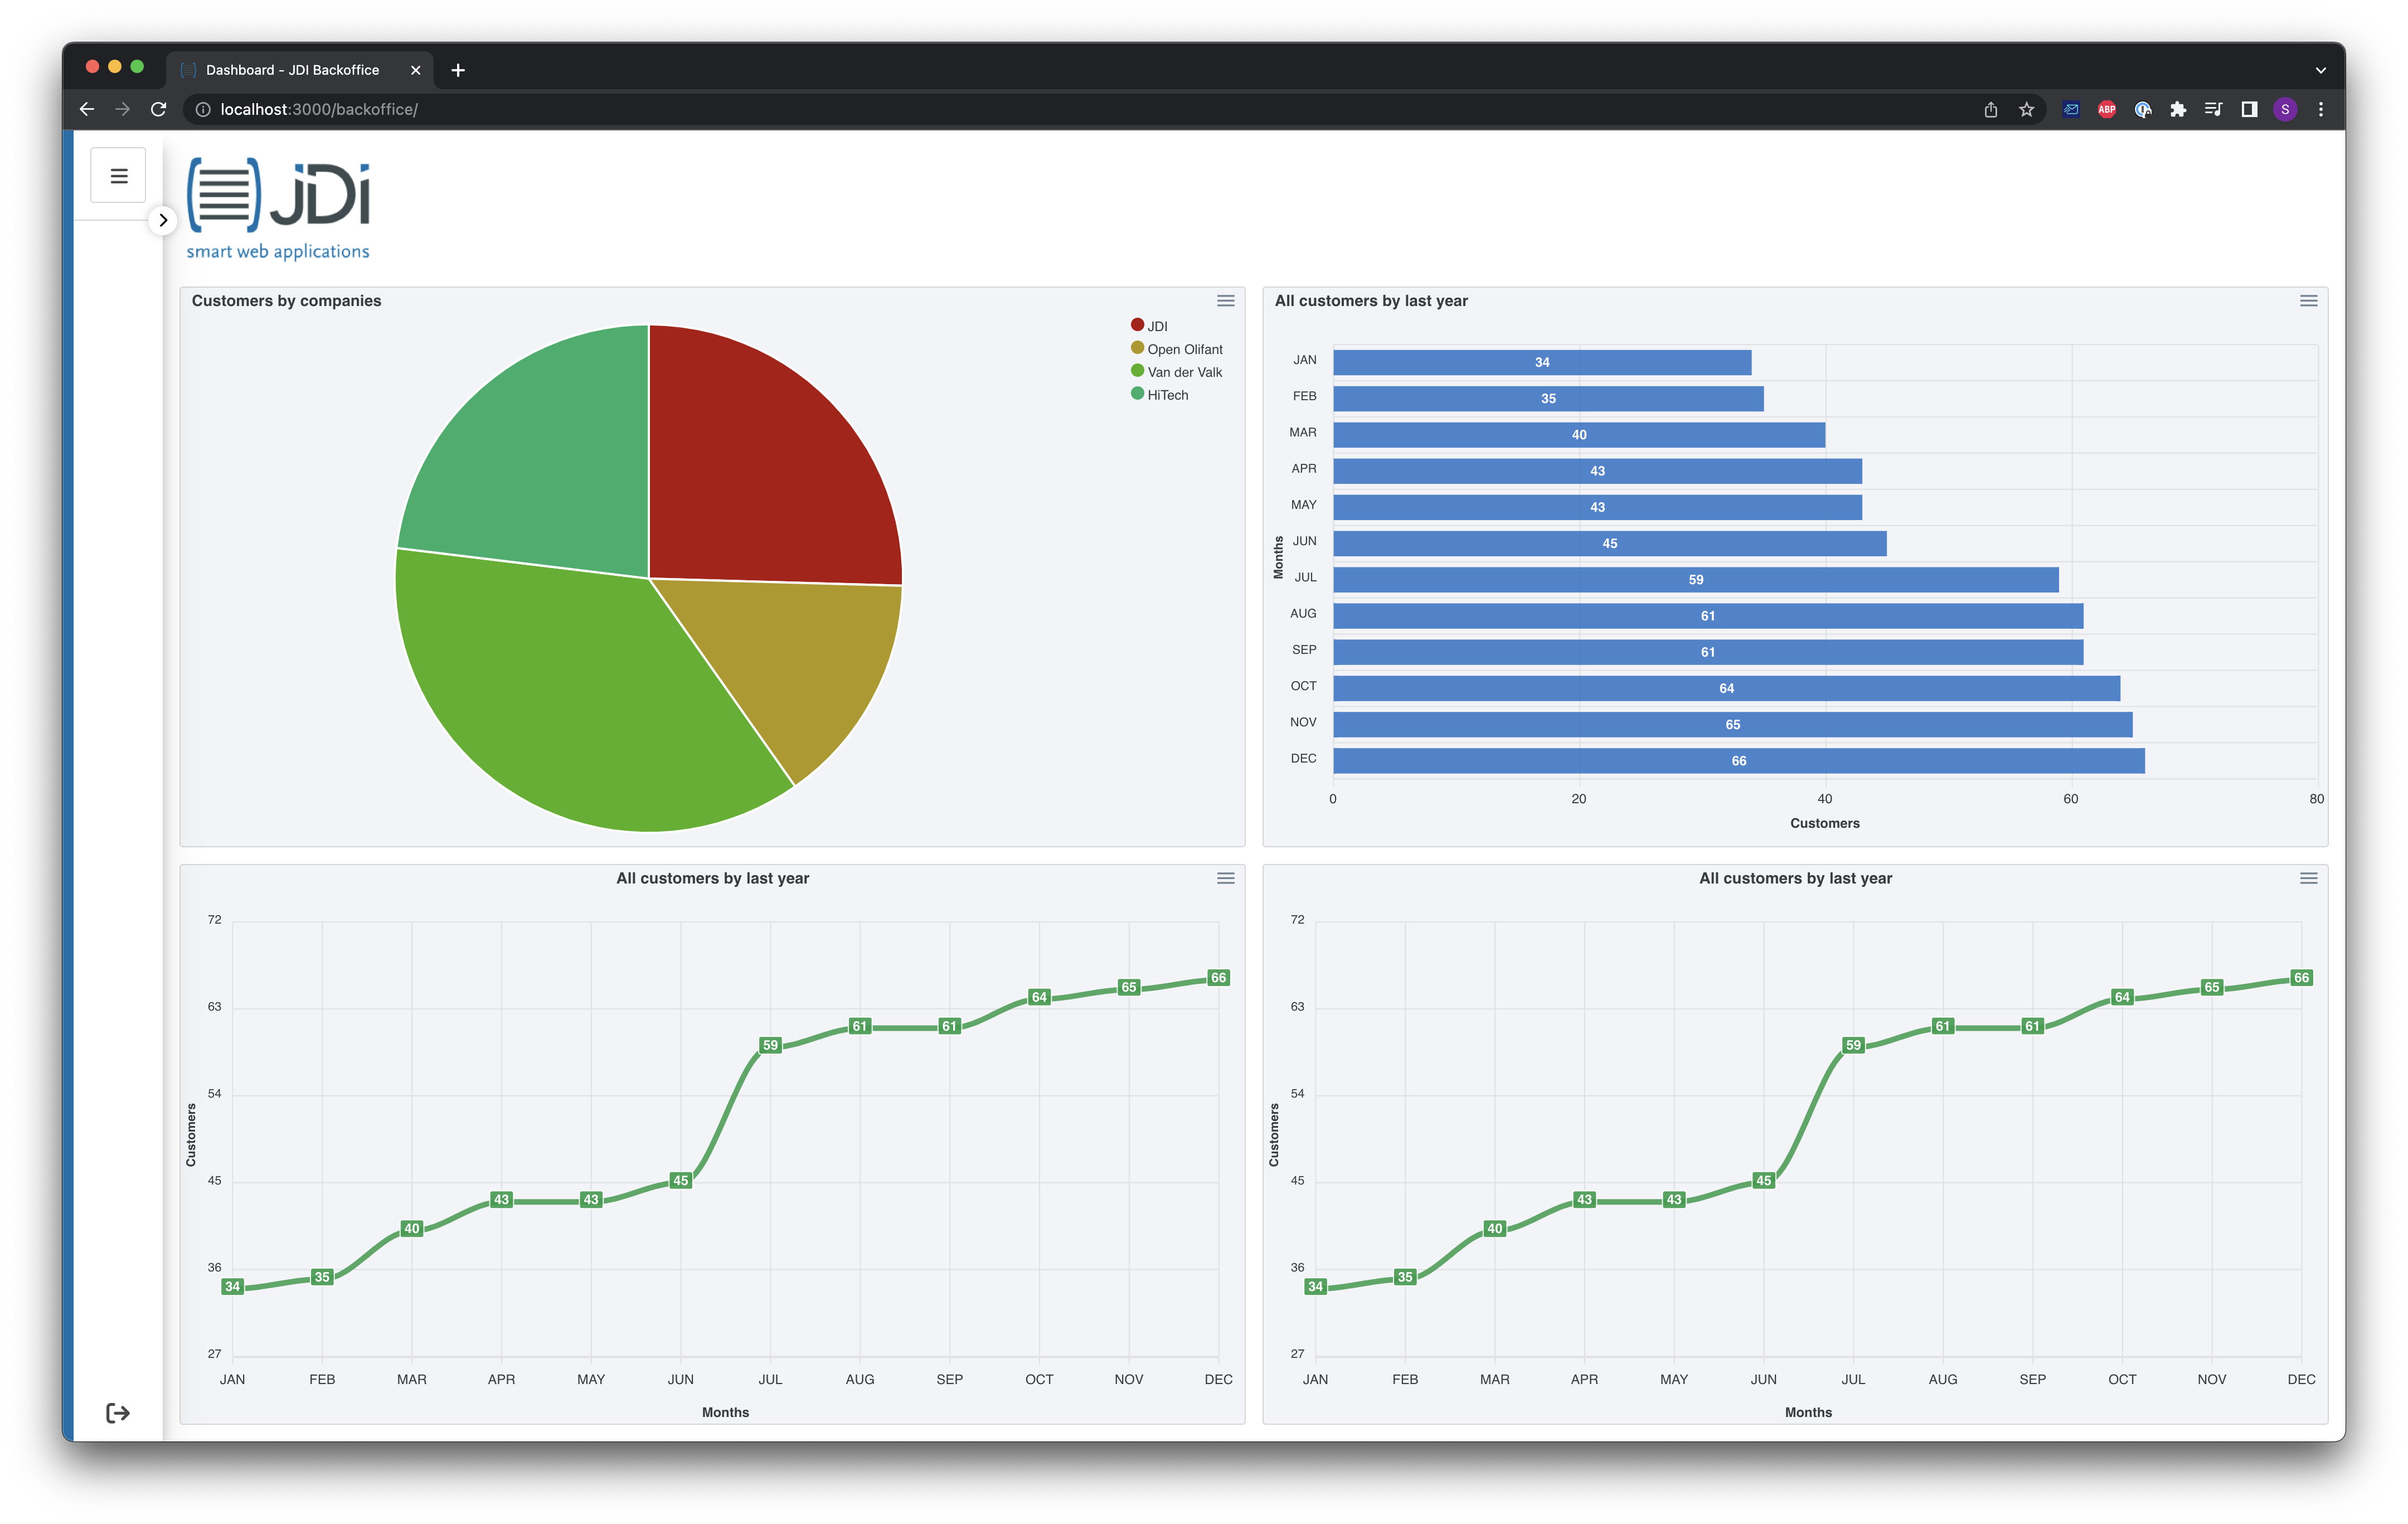
Two rows with two columns.
# Example
DETAILS
<template>
  <FourWidgets>
    <template #logo>
      <img :alt="$t('login.images.logo.alt')" src="../../static/theme/logo.png" />
    </template>
    <template #widget-1>
      <Widget name="bigChart" />
    </template>
    <template #widget-2>
      <Widget name="tallChart" />
    </template>
    <template #widget-3>
      <Widget name="smallChart1" />
    </template>
  </FourWidgets>
</template>
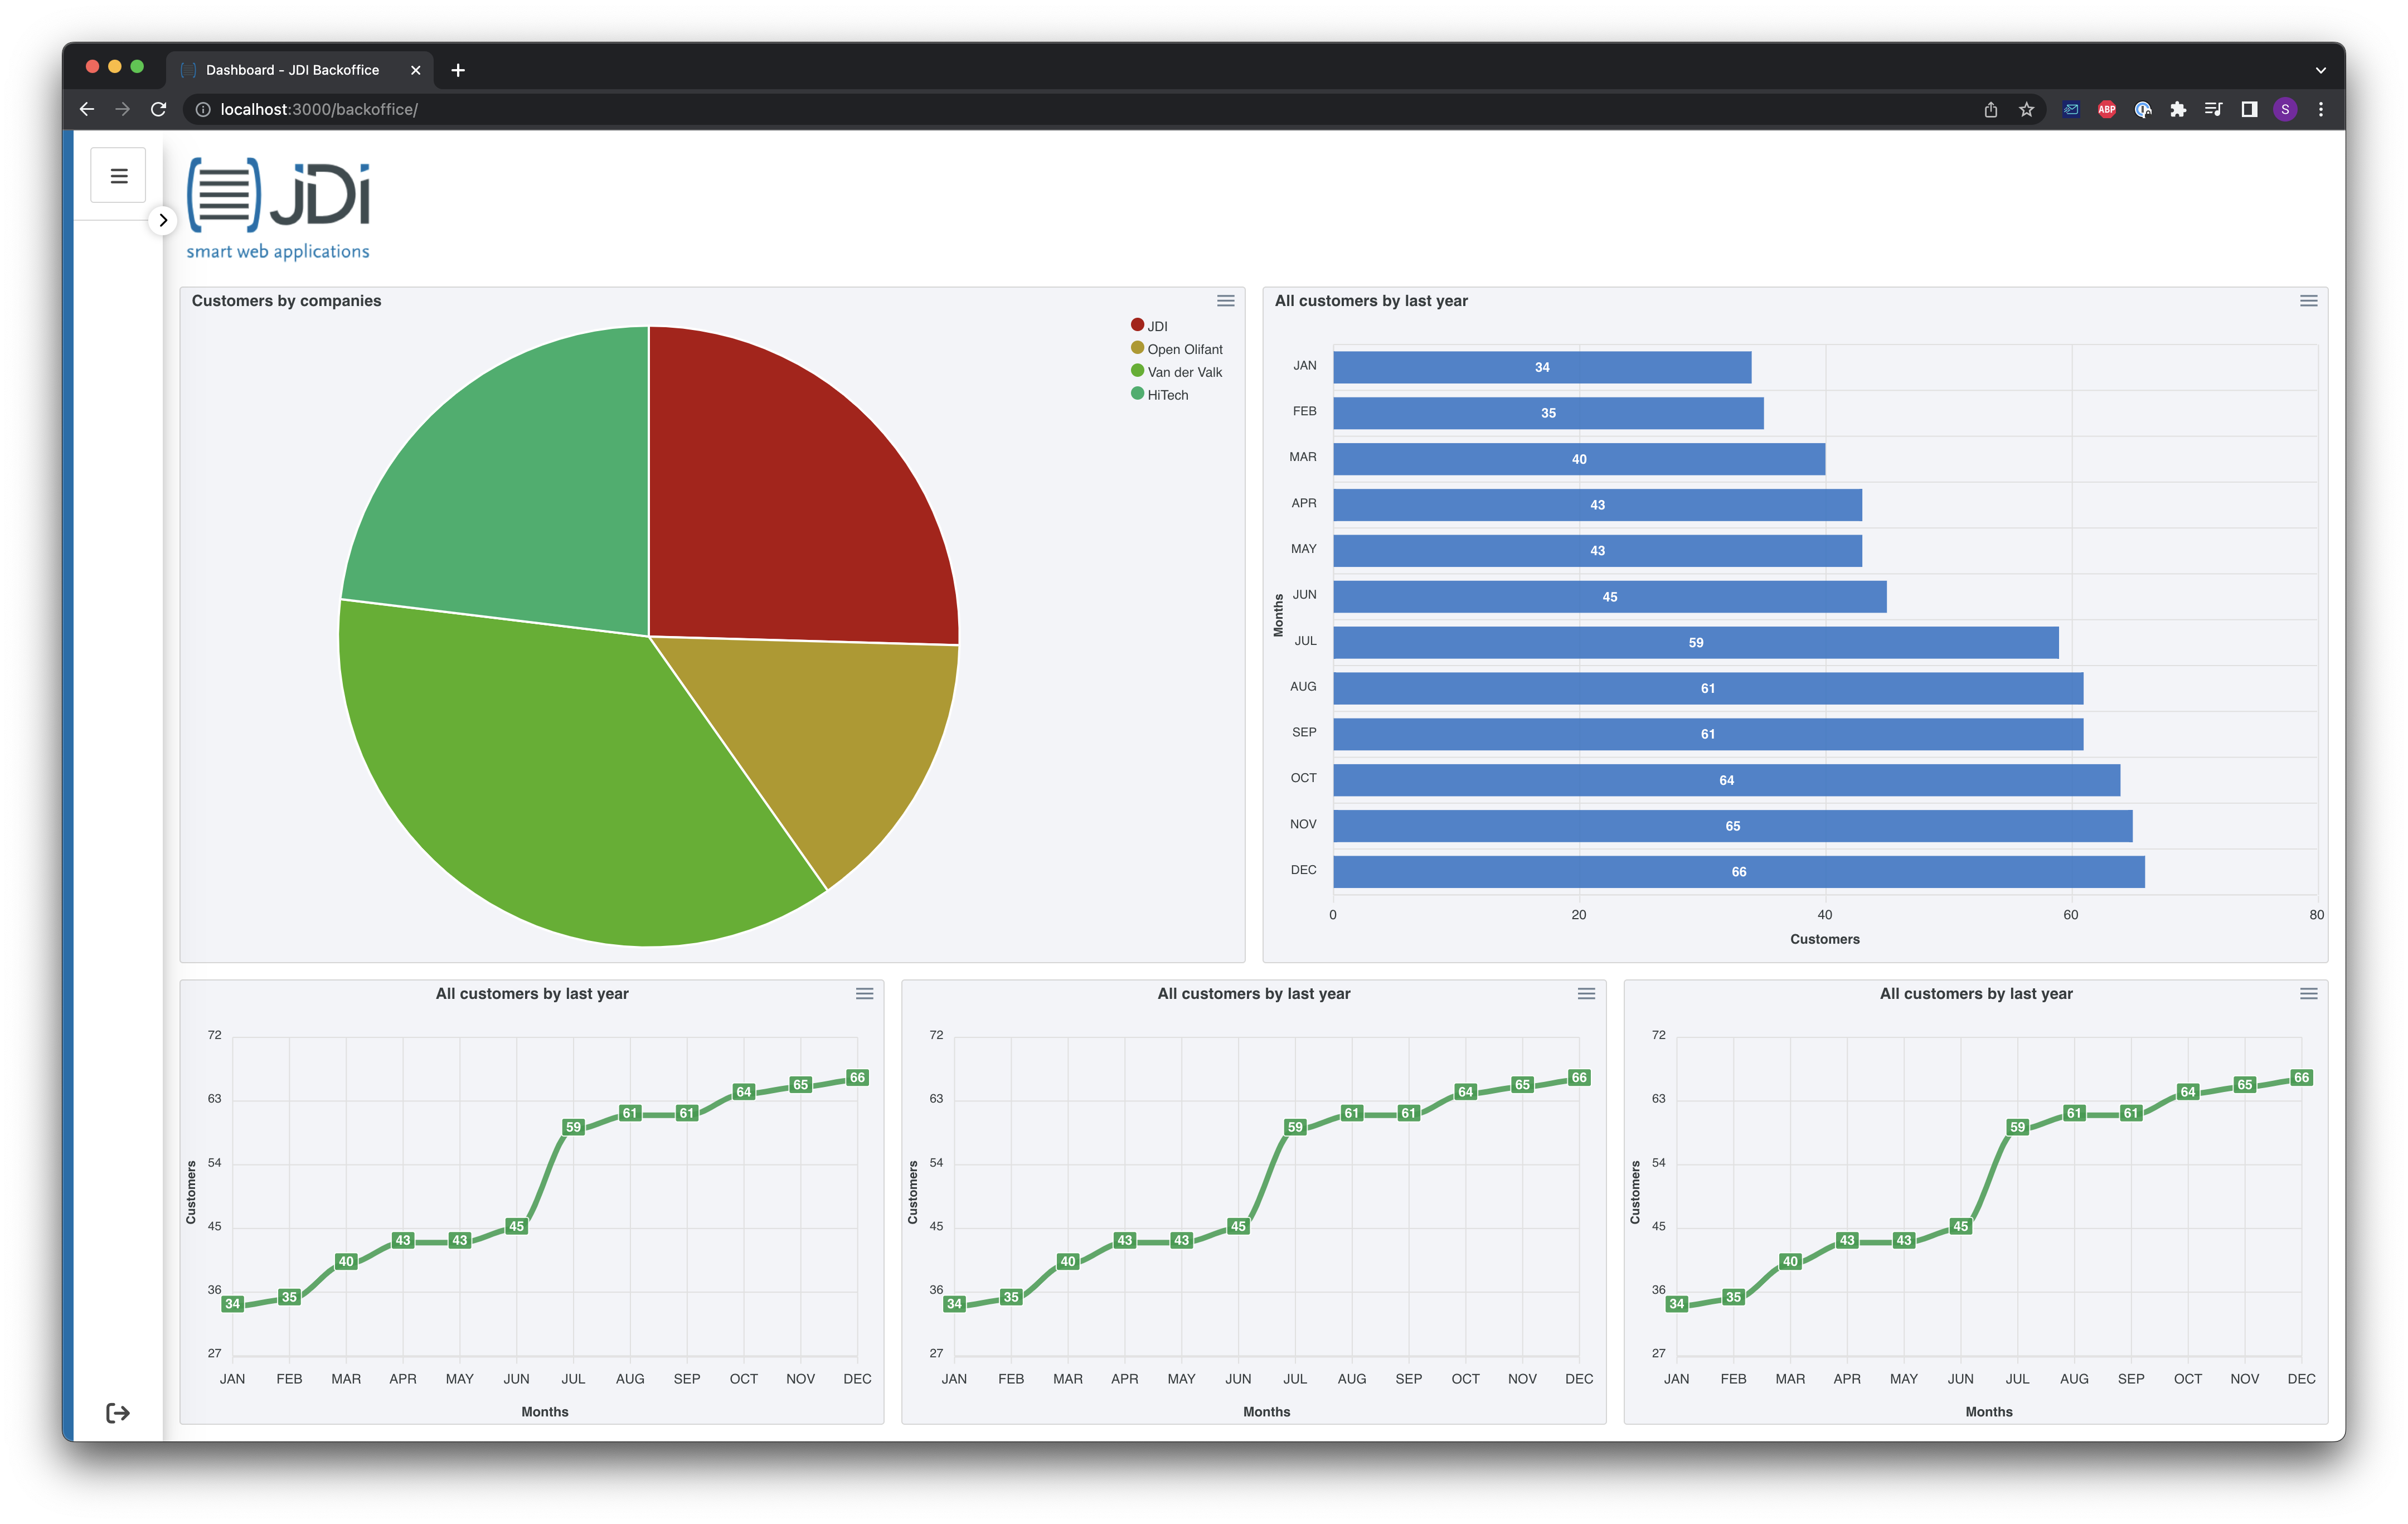
# FiveWidgets
Two rows. First row two columns. Second row, three columns
# Example
DETAILS
<template>
  <FiveWidgets>
    <template #logo>
      <img :alt="$t('login.images.logo.alt')" src="../../static/theme/logo.png" />
    </template>
    <template #widget-1>
      <Widget name="bigChart" />
    </template>
    <template #widget-2>
      <Widget name="tallChart" />
    </template>
    <template #widget-3>
      <Widget name="smallChart1" />
    </template>
    <template #widget-4>
      <Widget name="smallChart1" />
    </template>
    <template #widget-5>
      <Widget name="smallChart1" />
    </template>
  </FiveWidgets>
</template>